Inzwa App
The Inzwa mobile app allows you to monitor and control a Veva III device over Bluetooth Low Energy (BLE) directly from your iOS or Android smartphone. The app displays real-time sensor status, power information, and connectivity details, and allows you to start and stop monitoring without accessing the Inzwa Cloud or an FTP server.
Requirements
- iOS 14 or later, or Android 8.0 or later
- Bluetooth Low Energy (BLE) enabled on your phone
- A Veva III device within Bluetooth range (typically up to 10 m)
Ensure Bluetooth is enabled and location permissions are granted before launching the app. On iOS, the app will prompt for Bluetooth permission on first launch.
Connecting to a Device
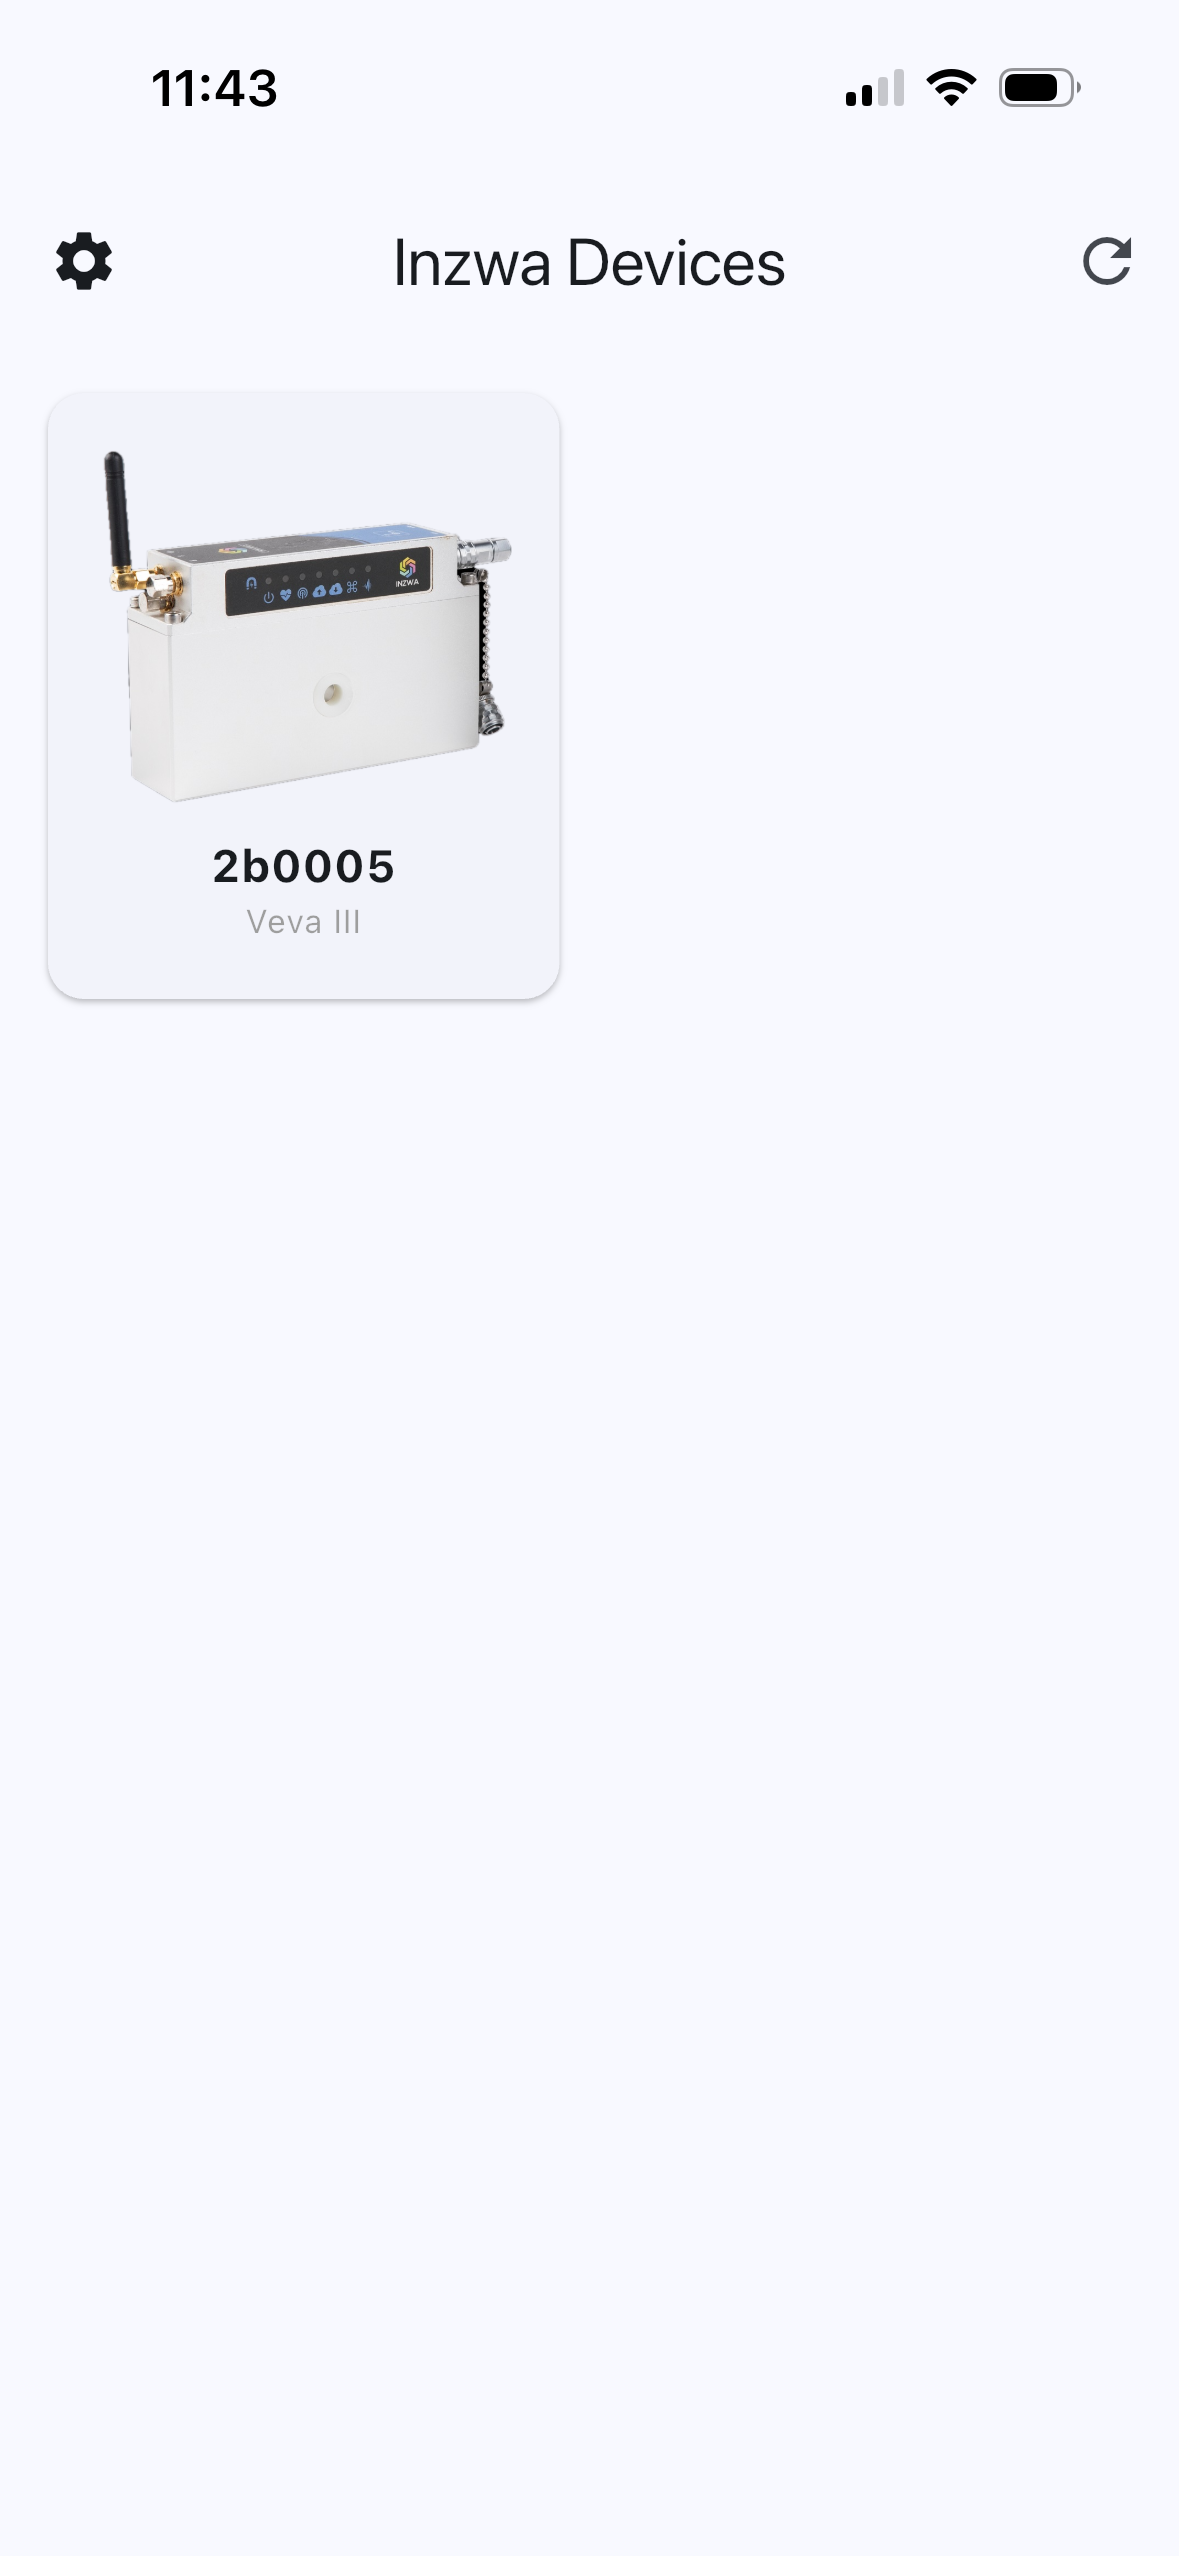
When the app launches it displays the Inzwa Devices screen and begins scanning for nearby Veva III devices.
- Devices discovered during the scan are listed by name.
- Tap a device name to connect.
- If no devices appear, tap Rescan to start a new scan.
The app connects to the Veva III using the ffe1 BLE characteristic. Make sure no other app or console is connected to the device at the same time.
Once connected, the app navigates to the Device Page for that device.
Device Page
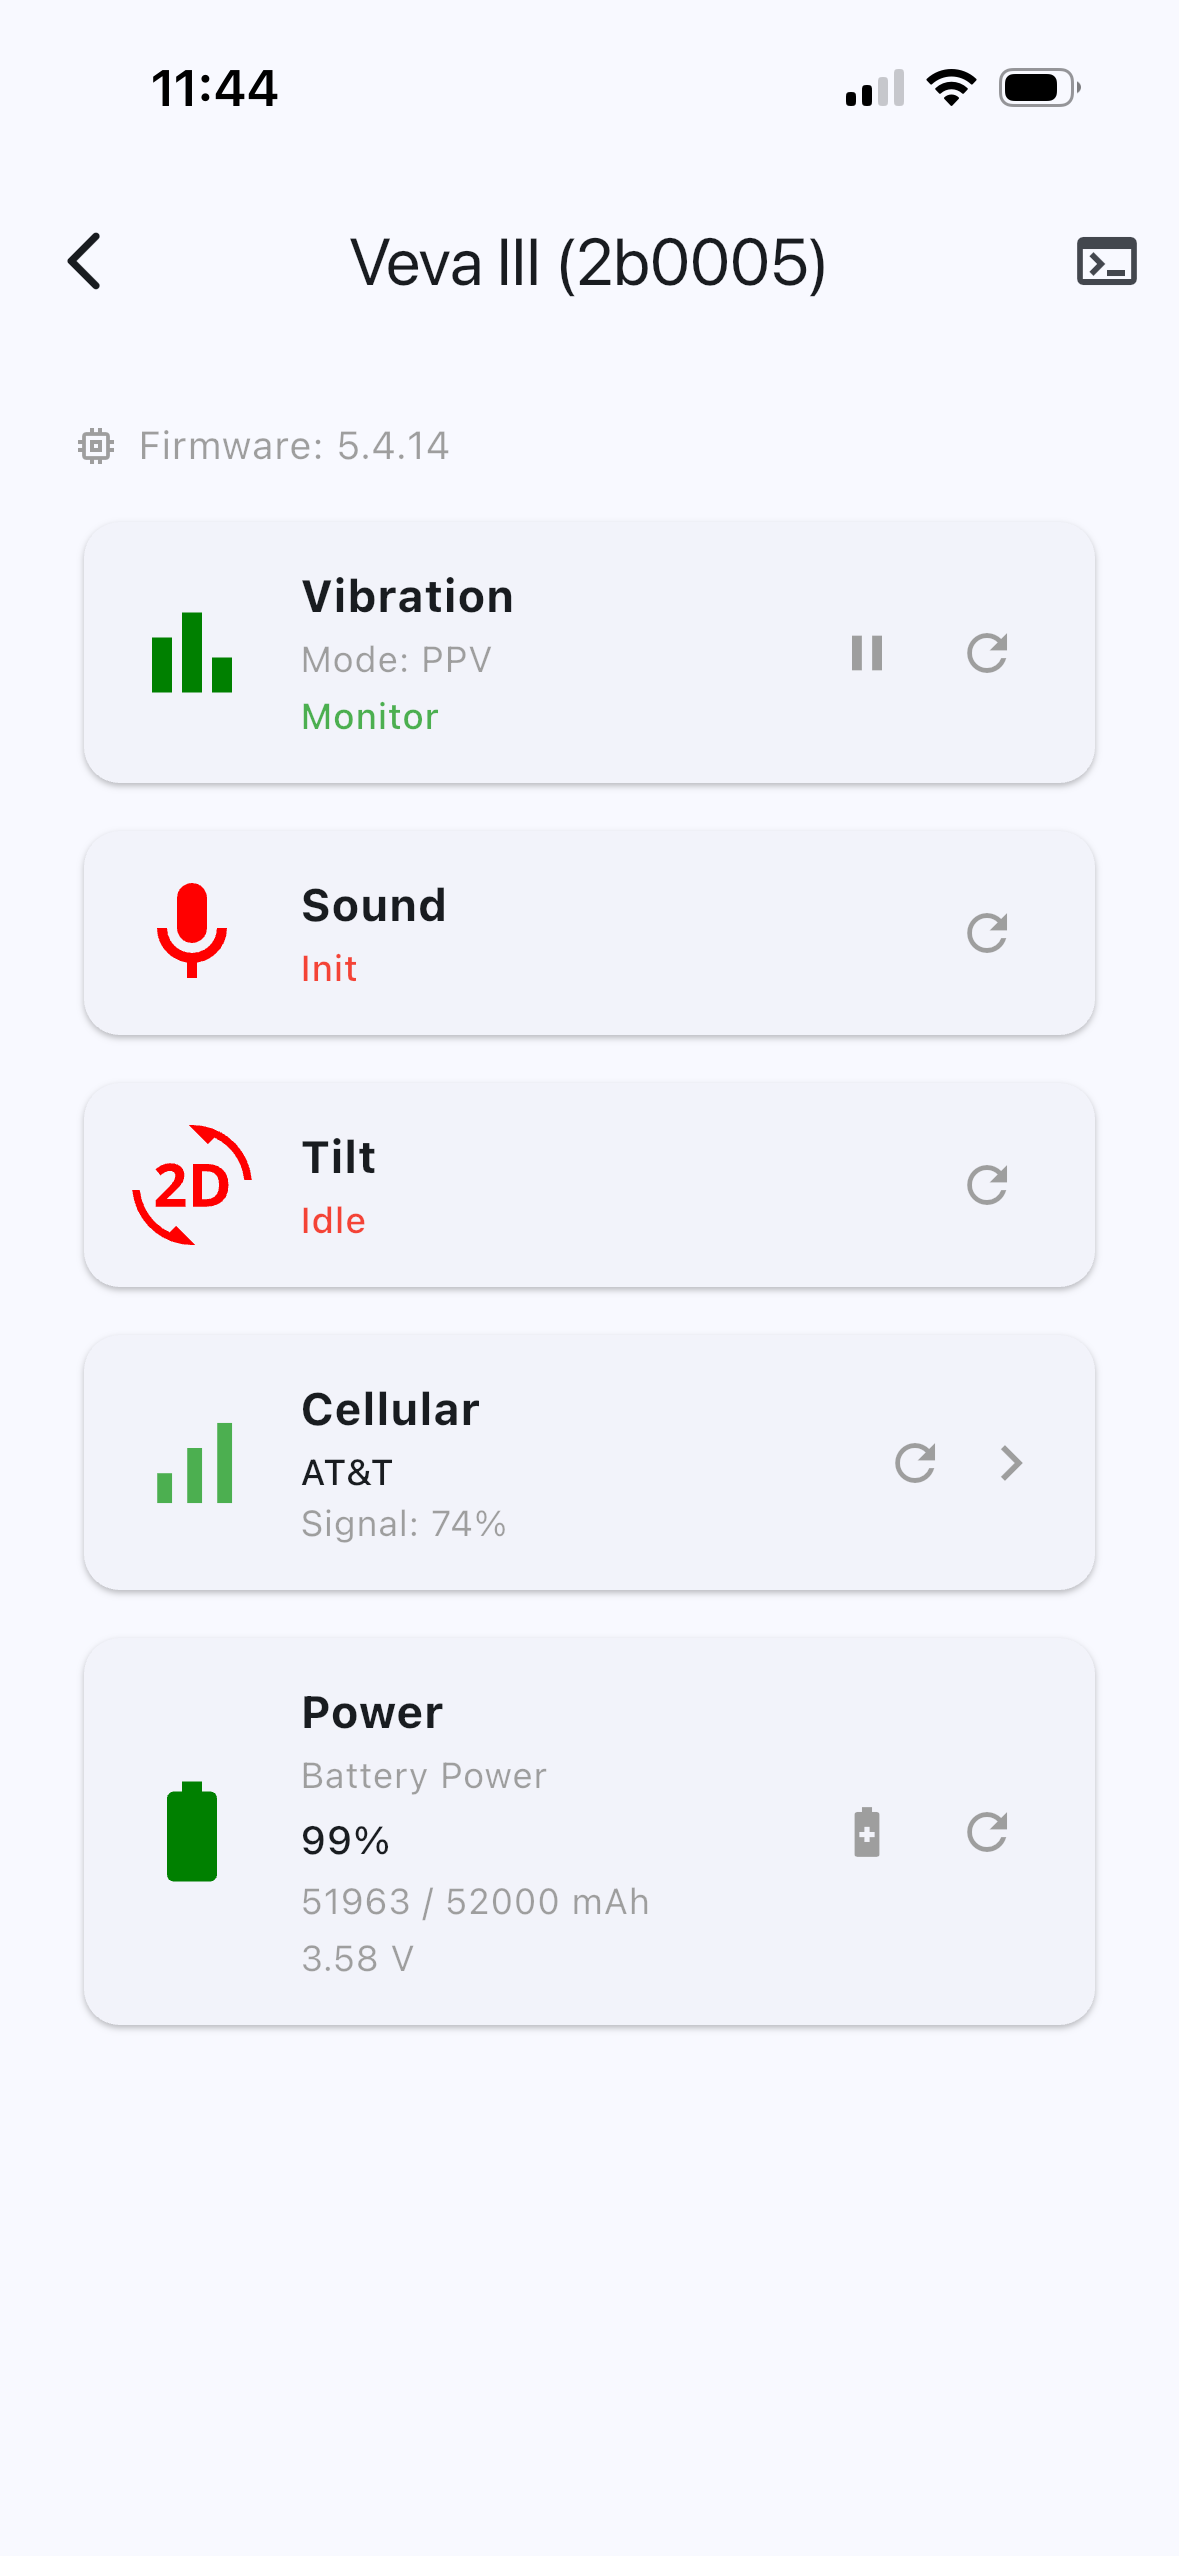
The Device Page displays the current status of the connected Veva III and is divided into several cards. Each card can be refreshed independently using the ↻ button on the right side of the card.
Tapping the firmware version at the top of the page refreshes the status section.
All cards refresh automatically when the Device Page first loads. Individual cards can be manually refreshed at any time using the ↻ button.
Sensor Cards
Vibration Card
The Vibration card shows the current vibration monitoring state and the active vibration mode (e.g. PPV, HRM, OCT).
- Green icon — monitoring is active (Monitor state)
- Red icon — monitoring is paused (Idle state)
When a vibration mode is configured on the device, a ▶ play or ⏸ pause button appears on the right side of the card:
- Tap ▶ to activate monitoring. A confirmation dialog is displayed before the command is sent.
- Tap ⏸ to pause monitoring. A confirmation dialog is displayed before the command is sent.
After confirming, the card displays Updating... while the device processes the command, then refreshes automatically to show the new state.
The play/pause button only appears when the device mode contains a vibration measurement mode (PPV, VIBR, HRM, OCT, AWT, VDV, or KB). It will not appear when the device is configured for a non-vibration mode such as Sound only.
Tilt Card
The Tilt card shows the current tilt monitoring state.
- Green icon — tilt monitoring is active
- Red icon — tilt monitoring is paused
When the device is configured in TILT mode, a ▶ / ⏸ button appears and works the same way as the Vibration card.
Sound Card
The Sound card shows the current state of the microphone sensor (active or idle). The Sound card is a status display only — monitoring is started and stopped using the Vibration card controls, which govern all sensor states simultaneously.
Power Card
The Power card displays the current power source and battery status.
| Field | Description |
|---|---|
| Power source | Battery or External Power |
| Remaining charge | Battery percentage and remaining capacity (mAh) |
| Total capacity | Configured battery capacity (mAh) |
| Voltage | Measured battery voltage (V) |
Tapping the ↻ button refreshes the power data. Tapping the card opens a detail sheet that also provides a Reset Gauge option for recalibrating the battery gauge after a battery replacement.
Resetting the Battery Gauge
When a battery is replaced, the battery gauge must be recalibrated so remaining capacity readings are accurate.
- Tap the Power card to open the detail sheet.
- Tap Reset Gauge.
- Select the battery type installed:
- Saft/Fanso — 52,000 mAh
- Rechargeable — 42,000 mAh
- Confirm the selection. The app sends the reset command and refreshes the power data when the device confirms the new battery.
Selecting the wrong battery type will result in inaccurate remaining capacity readings. Confirm the battery model before resetting the gauge.
Connectivity Card
The Connectivity card shows the active communications module — either Wi-Fi or Cellular.
Wi-Fi displays:
- Network SSID
Cellular displays:
- Carrier name (derived from the PLMN ID reported by the device)
- Signal strength
Tapping the card opens a Connectivity Details sheet showing the FTP connection status and FTP server configuration (URL, port, and username).
Preferences
Tap the ⚙ gear icon in the upper-left corner of the Inzwa Devices screen to open Preferences.
Currently available preferences:
- Language — Select the display language. U.S. English is the default and currently the only supported language.
Commands
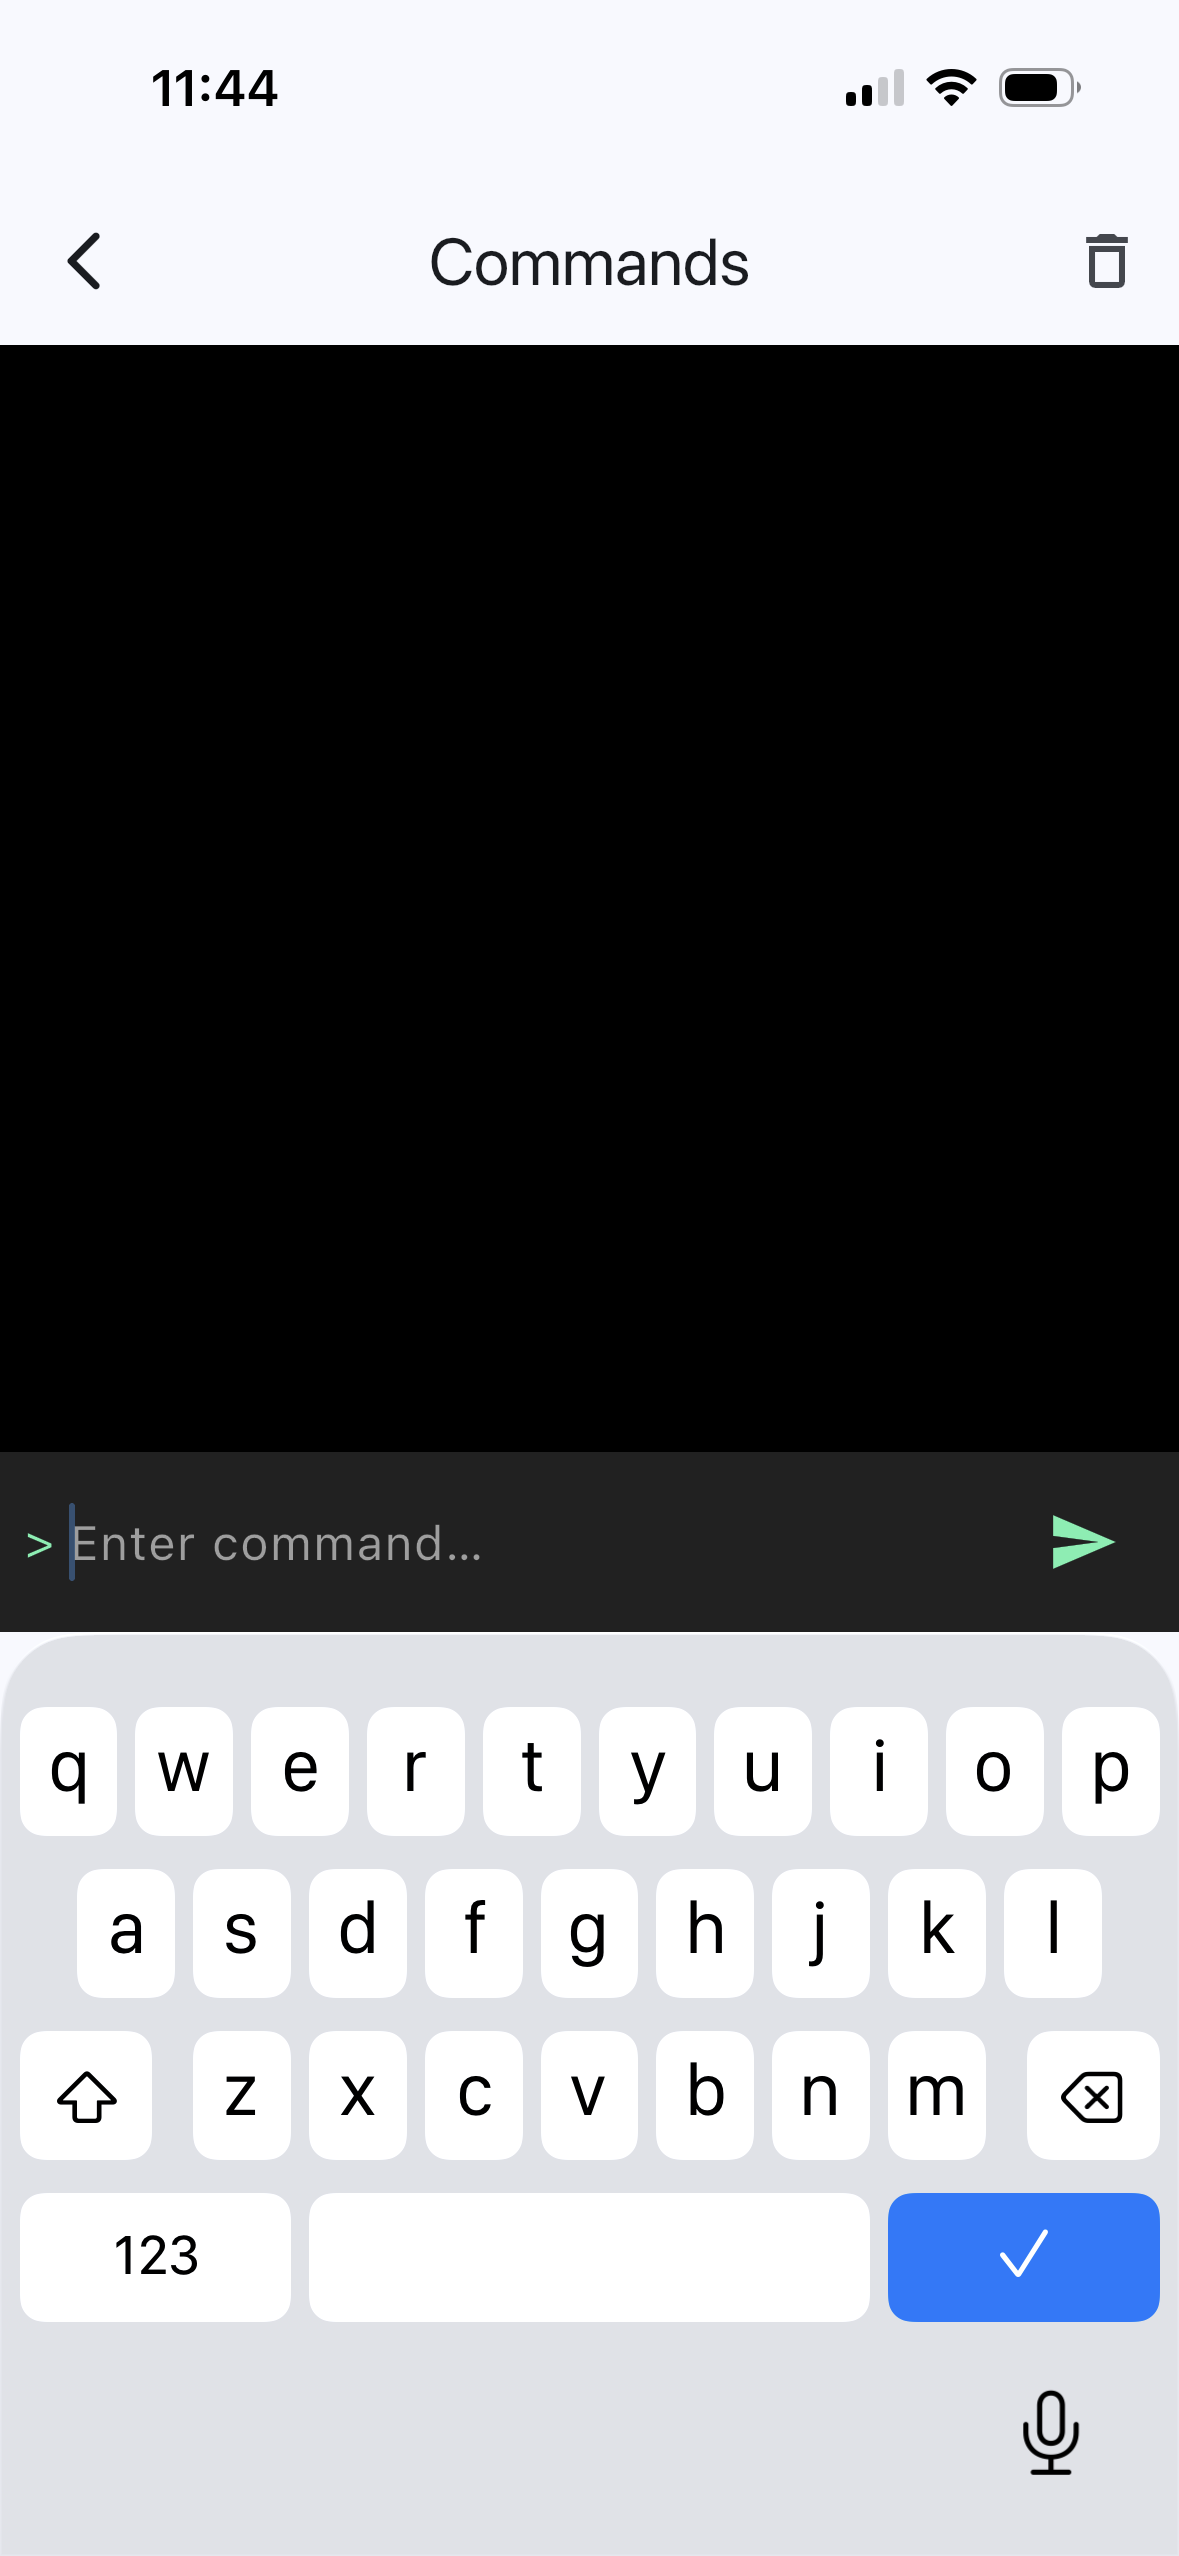
Tap the terminal icon on the Device Page to open the Commands console. The Commands console allows you to send raw commands directly to the device and view the responses. This is intended for advanced use and diagnostics.
Sending incorrect commands can change device configuration or interrupt monitoring. Use the Commands console with caution.